What’s Actually Inside an At-Home Herpes Test Kit?
Quick Answer: An at-home herpes test kit usually has a lancet, which is used to prick a finger; a collection tool; a test cassette; buffer solution; and instructions.
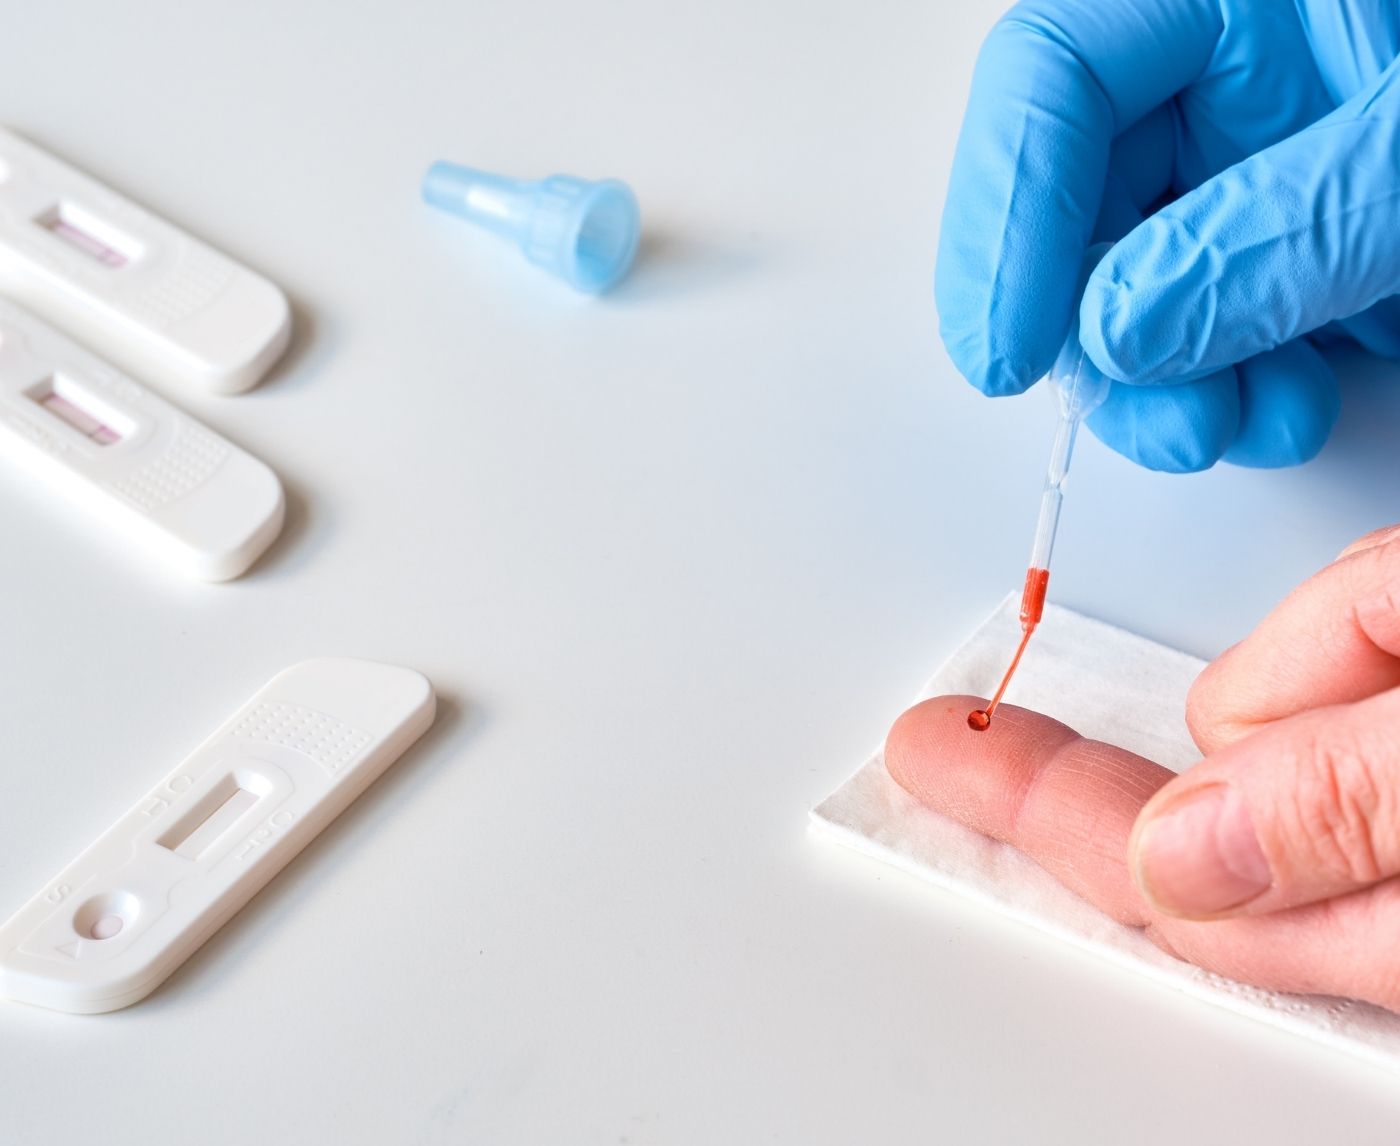
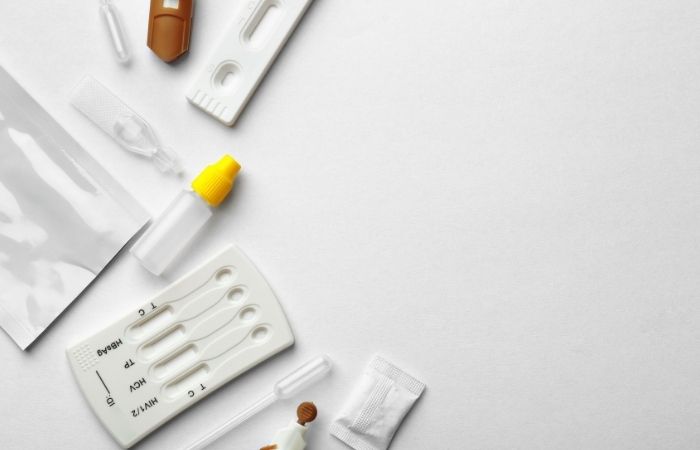
Quick Answer: An at-home herpes test kit usually has a lancet, which is used to prick a finger; a collection tool; a test cassette; buffer solution; and instructions. Each component is designed to work together to collect a sample and test for herpes antibodies or antigens within minutes.
The Moment You Open the Box: What You’ll See First
Of course, most people would assume that something complicated is going to happen, but the first thing that you’re going to notice is how compact everything is. The package is designed to be utilized in a real-world environment; your bathroom counter, your bedroom desk, even your hotel room if you have to take it with you. It is designed to be utilized in the real world, not some kind of lab environment.
When you open it up, the first thing that you’re going to notice is that every single piece of equipment is individually sealed and is sterile. And they should be, because you’re not just taking a test; you’re collecting a biological sample. And although most people may think that this is a little intimidating, seeing all of this stuff sealed up is kind of reassuring when you think about it.
There is a lot of people that will stall at this point; they will read the instructions, read the instructions again, maybe even watch a couple of videos. And honestly, it’s not a bad thing. As one patient said to me, "I just thought I would screw it up somehow, but when I laid it all out, it made sense." And that’s the thing; it does make sense when you lay it all out.
The Instruction Sheet: Your Game Plan (Don’t Skip This)
It may sound obvious, but the instruction sheet is the most critical component of the whole package. Not because it is complicated, it is not, but because timing and order are critical to the overall accuracy of the tests. And this is where much of the stress is created, and where most of the errors are averted.
The instructions will usually cover three areas: how to prepare, how to collect your specimen, and how to interpret your results. And each of these is explained in plain language, sometimes with pictures. You don’t have to know anything to start.
It is not really an instruction manual; it is more of a script. You are simply doing what has been tested millions of times already. Do you know how to put furniture together? Do you know how to cook? Then you already know how to do this right.
The Lancet: Yes, This Is the Finger Prick (And It’s Not as Bad as You Think)
This is the part people worry about the most. The lancet is a small device used to prick your finger and collect a tiny drop of blood. It looks more intimidating than it feels.
In reality, it’s quick, like a fast pinch that’s over in a second. Most people are surprised by how minimal it is. One user described it as, “I built it up in my head way more than it actually was.”
The reason blood is used is because most herpes tests detect antibodies, proteins your body produces after exposure to the virus. That means the test isn’t looking for the virus itself, but your immune response to it. And blood is the easiest way to measure that at home.
| Component | Purpose |
|---|---|
| Lancet | Creates a small, quick finger prick to collect blood |
| Blood Sample | Contains antibodies that indicate herpes exposure |
Once you understand that, the lancet stops feeling like a scary tool and starts feeling like a shortcut to answers.
The Collection Tool: Getting the Sample Right
After the finger prick, you’ll use a small collection tool, usually a capillary tube or dropper, to gather the blood. This part can feel a little awkward the first time, but it’s designed to be simple and forgiving.
The key here is patience. You don’t need a lot of blood, just a small, steady drop. Rushing is what makes people feel like they’re doing it wrong, when in reality, taking your time makes it much easier.
This step matters because the amount of sample affects how well the test works. Too little, and the result might not develop properly. But again, the kit is designed to guide you, if you follow the instructions, you’ll be fine.
The Test Cassette: Where the Answer Actually Happens
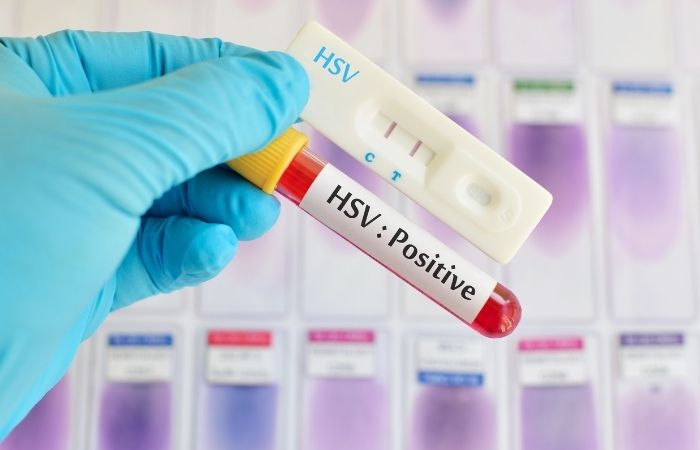
This is the centerpiece of the kit. The test cassette is a small plastic device that looks similar to a pregnancy test. It’s where your sample goes, and where your result appears.
Once you place the blood into the designated well and add the buffer solution, the test begins working. Inside that cassette are chemical strips designed to react if herpes antibodies are present. It’s a quiet process, but a very precise one.
This is usually the longest-feeling part, not because it takes long (typically 10–15 minutes), but because you’re waiting. People often describe this as the most emotionally intense moment. “I just kept staring at it, like it would answer faster if I watched,” one user said.
| Line Display | Meaning |
|---|---|
| One control line only | Negative result |
| Two lines (control + test) | Positive result |
| No control line | Invalid test (must repeat) |
Even a faint line can matter, which is why reading the instructions carefully here is essential.
The Buffer Solution: The Quiet but Essential Step
The buffer solution is not really given much attention, but it is quite important. Once you have added your blood sample, you have to add a few drops of this solution to your cassette. The solution is important in helping your blood sample move across the test strip.
If you did not have this solution, your test would not work properly. The solution is like the engine that keeps things moving behind the scenes.
This is quite a simple step, but time is important. Too little or too much solution may affect the clarity of your results. As I have said, this is where instructions are important.
What’s Not in the Box (And Why That Matters)
One thing that people are surprised by is what is not included. There is no doctor, no lab technician, and no waiting room. And this is the entire point of an at-home test: to put the entire process in your hands.
But this also means that you need to know the timing. Herpes tests need to wait for your body to develop antibodies to the virus. This can take some time after infection. If you take a test too soon after infection, you can actually get false negatives with a positive infection.
This is where most people get confused when they read online. They think something is wrong with the test when in fact, they took it too soon.
If you are unsure, it is always recommended to begin with a trusted at-home STD testing service. They can actually clarify the entire process and make it less stressful. The right testing kit is not just about testing. It is actually about guidance.
Why Every Piece Matters More Than You Think
At first glance, it may appear to be arbitrary what is inside the herpes test kit. But when all these parts work together, they are able to perform one single function: to help you find out if your body has responded to herpes.
You use the lancet to get your sample. The collection tool is what you use to get your sample. The buffer is what starts the whole thing off. And the cassette is what shows you your results. But if you remove any one of these, the whole thing comes unglued.
When you think about how all these parts work together to help you get your results, it is no longer intimidating. It is no longer this mysterious box; it is now a system designed to help. And isn’t that what people want in the first place?
If you’re in the place where you’re holding the box and wondering what to do next, just remember, you’re not alone in this. You’re not doing anything wrong. And you’re getting results. And isn’t that always a good thing?
This Is Where People Second-Guess Themselves (And Don’t Need To)
There’s a very specific point where things are all set up. Your sample is in the cassette, your buffer is added, and then you wait. This is where your brain goes into what it does best: spiraling.
You might be thinking to yourself whether or not you did the finger prick correctly. Maybe you go back to read those instructions for the third time. That’s completely normal. In fact, one person told me, “I was convinced that I had somehow invalidated it all because I was nervous.”
The truth is that these kits are meant for humans, not professionals. There’s a built-in tolerance for human error. So long as you followed the basic process, your test is probably doing exactly what it’s supposed to be doing in the background, analyzing your sample.
How the Test Actually Detects Herpes (Without You Seeing It)
So, as you’re looking at that cassette, something quite interesting is going on. The test strip has special proteins on it, which only stick to herpes antibodies. If you have herpes antibodies in your system, which is probably HSV-1 or HSV-2, then you’ll be able to see a line.
This is called immunoassay detection. It’s a fancy term, but it’s really quite simple. The test is trying to identify if you have herpes by seeing if you have evidence of it in your system. It’s not guessing, it’s not using symptoms, it’s using biology.
This is why timing is also important. If you don’t have enough time in your system, then you might not be able to detect anything. This is not because the test is not working, it’s because biology isn’t working quickly enough.
If you’re not sure when you last had sex, or you just want a more general approach, you can also use a combo STD home test kit. This can be a more comprehensive approach to going from not knowing to knowing in one go.
The Waiting Window: Why 10 Minutes Feels Like an Hour
The at-home tests usually take 10 to 15 minutes to develop. Objectively speaking, that is not a long time at all. Subjectively speaking, though, it can seem to take an eternity. That is the part of the process that no instruction manual will ever fully prepare you for.
You will likely read many accounts of pacing the room, checking the cassette too soon, or Googling ‘faint line herpes test meaning’ before the allotted time has even passed. The instinct to check is a strong one, but it is important to try to resist it until the full time has passed.
There is also a strange dichotomy of emotions that will likely occur at this point. Part of your mind will be hoping that the minutes tick by a little longer until the result is revealed. Another part of your mind will be hoping for a quicker result, as it will mean that the ordeal will be over sooner.
Reading the Result Without Overthinking It
After that period of time, you then check your cassette. Now, this is where simplicity comes in. Despite all that has happened to bring you to this point, what happens next is very simple: lines or no lines.
The control line is what tells you whether or not your test was a success. If you see this line, then you know your test was a success. Now, you look for your test line. If you see this line, then you know you are probably positive.
Now we get to what most people call paranoia. They look to see if the lines are darker or lighter. They look to see if they are positioned better in one position or another. But most test kits are built so that if you see a test line at all, then you are probably positive.
But what if you are not positive? What if you are negative? That can bring its own brand of relief and questions. Are you too early in your pregnancy? Should you take another test? These are not paranoid questions. They are logical questions. Testing is not always a one-time event.
What Happens If the Test Is Invalid?
However, in some cases, this line does not show up. In this case, it is considered an invalid test. This can be a frustrating experience, especially after going through all this process. However, it is actually a protective measure.
Having an invalid test does not say anything about your health. It simply means that the test was not performed properly. This can be because of insufficient sample, wrong timing, or even a defect in the product.
The most important thing to remember in this case is not to worry. Getting an invalid test is not a big deal because it happens occasionally. The only way to solve this is to repeat the test with a new kit. It is annoying, but it is also important to ensure accuracy.
The Emotional Side No One Talks About (But Everyone Feels)
Opening a herpes test kit isn’t just a physical act, it’s also an emotional one. There’s a backstory, a reason why you’re opening the kit. Was it a recent hookup? Was it a weird symptom you were experiencing? Was it a message from a partner that completely changed everything?
This backstory is important. You’re not just using a medical device, you’re also using your own thoughts, feelings, and expectations. A person once said, “It wasn’t the test I was scared of, it was what it might confirm.”
This is when it’s good to take a step back. Herpes is a very common virus. There are a lot of people out there who have herpes and lead completely normal lives, relationships, and sex lives.
FAQs
- 1. Does each herpes test kit contain a lancet?
- Most herpes test kits, which require blood samples, contain a lancet to prick your fingers. Nevertheless, some herpes tests, like the ones which require a swab, may not require a lancet.
- 2. How painful is the finger pricking with the lancet?
- For most people, the lancet is just a pinch, which lasts only a second. The pain is minimal and is over before you know it. The anticipation is usually much worse than the actual pain.
- 3. Can I mess up the finger pricking?
- While it is technically possible, it is extremely unlikely, provided you follow the instructions. The kits are designed to be easy to use and to allow for some error. The best thing to do is to take your time.
- 4. How long does it take to receive the results?
- Most herpes rapid tests give results in 10 to 15 minutes.
- 5. What does a faint line on the herpes test result mean?
- Even if the result is faint, it is almost always considered positive. The strength of the positive result is not necessarily related to the strength of the infection.
- 6. Can I use the test without symptoms?
- Yes, the tests for herpes can detect the presence of antibodies even without symptoms. There are many people who are infected with herpes without even having symptoms.
- 7. Do I need to fast before taking the test?
- No, there is no need to fast before taking the home herpes tests. You can take the tests at your own convenience.
- 8. Can the test result be false?
- Yes, false results can occur with the herpes tests. The timing of the tests is critical. It is important to note that testing too early can result in false negatives.
- 9. What should I do if I test positive?
- The next step is to consult a healthcare professional for confirmatory tests. They will guide you further regarding the management of the condition. Usually, antiviral drugs are prescribed to control the symptoms.
- 10. Are at-home herpes tests reliable?
- Yes, the at-home tests for herpes are reliable.
From Confusion to Clarity: Why This Process Works
At the beginning, the kit might feel like a collection of random items. But by the time you reach the result, there’s usually a shift. The confusion fades, and the process starts to feel logical, even empowering.
You went from wondering “what is all this?” to understanding exactly how each piece fits together. That shift matters, because it turns testing from something intimidating into something manageable.
And that’s really the goal. Not just to give you a result, but to give you clarity. Whether that clarity brings relief, next steps, or more questions, it’s always better than guessing.
Our article was constructed based on current advice from the most prominent public health and medical organizations, and then molded into simple language based on the situations that people actually experience, such as treatment, reinfection by a partner, no-symptom exposure, and the uncomfortable question of whether it “came back.” In the background, our pool of research included more diverse public health advice, clinical advice, and medical references, but the following are the most pertinent and useful for readers who want to verify our claims for themselves.